How to Change the Batteries in your Home Security System
 In modern home security systems, batteries are necessary to keep it working properly. There are different types of batteries depending on what type of alarm system you have. Some systems require only one battery, while others need double digits. A great way to learn how to change the batteries in your home security system is to call the company that installed your alarm and ask them to help. If you’re looking for step-by-step instructions, you’ve come to the right place.
Step 1: Determine what device needs new batteries
Home Security System parts that require batteries:
- Control Panel
- Keypad
- Door/Window Sensor
- Motion Detector
- Glassbreak Detector
- Smart Thermostat
- Smart Door Lock
Step 2: Call the monitoring center and put the system on Test
If your alarm system is professionally monitored, you will want to make sure the monitoring company knows you are changing your batteries so you don’t cause a tamper alarm. Your system may still beep and show a tamper error, but at least the police won’t show up at your door.
Step 3: Open the device to view the current battery
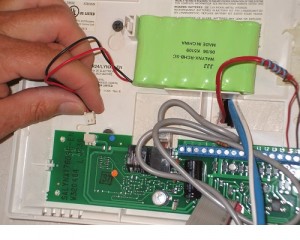
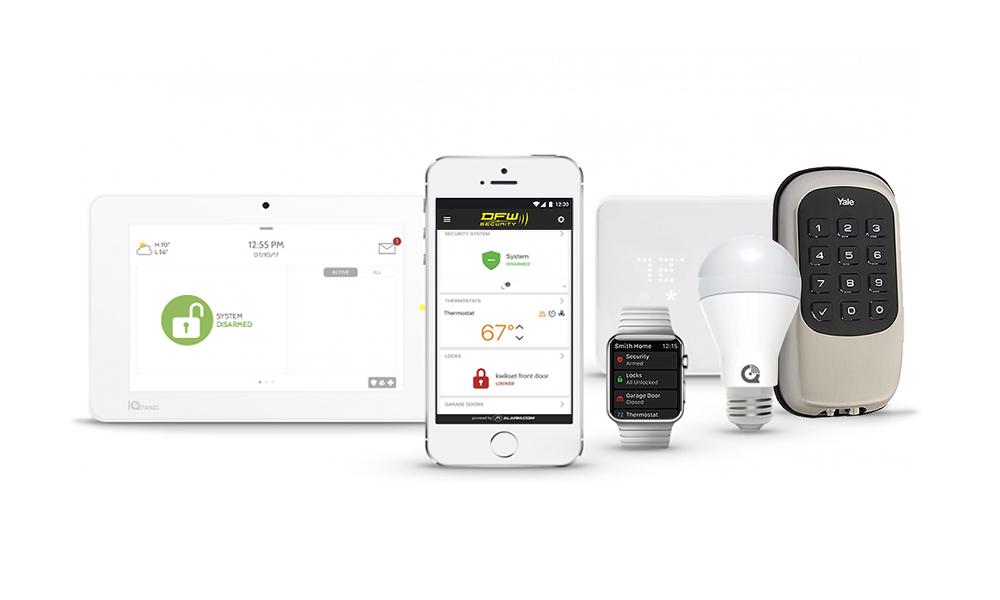
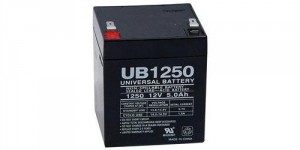
If you are not sure what type of battery is needed, you can find out by locating the current battery. Traditional home security systems use a large single 12v battery in the control panel, which is usually located in a metal box hidden in a closet. Newer systems and smart security systems have a special battery pack that is located inside the keypad. Many other components and sensors use typical household batteries like AA batteries, or the flat coin-shaped ones.
Step 4: Remove the current battery and purchase a new one to match
Once you have located the battery that needs to be replaced, if it is not a type you recognize, remove it and bring it with you to a specialty battery store. Otherwise, leave it in place until you have the new battery. In most cases, you can pop off the plastic covering to view the batteries on wireless devices. Sometimes a screw needs to be removed. If you’re not sure how to access the batteries, call your home security company for help.
Step 4: Install the new battery
Especially in newer systems, the batteries are easy to disconnect and change out. Make sure you note exactly how the current batteries are installed so you can connect them the same way. In control panels, there may be wires connected to the battery that will need to be reconnected to the new one.
Step 5: Test your system
After everything is reconnected and closed, you should test your system with the monitoring center to make sure your home security system is working as it should. They can also help you clear any errors that are showing on your keypad, although they may clear automatically once the batteries are working. Note: You should get in the habit of testing your alarm system at least once a month.
A Word About Warranties
Many home security companies offer a warranty on alarm equipment they install. Sometimes they are even available on equipment already existing in your home. (DFW Security offers this option.) It should be noted however, that warranties almost never include batteries. It is the customer’s responsibility to make sure batteries are working so their system will operate properly. Good companies will have technician available to walk you through the process by phone, and may even mail batteries to you for a fee. If you request a technician to come change your batteries for you, you will most likely have to pay a charge. Changing the batteries in your home security system is really a pretty easy task. Change them as soon as you get a low battery notification, to ensure your alarm system is always working to keep your home and family protected.
Ready to Upgrade?
DFW Security offers affordable state-of-the-art smart security systems and monitoring to homes and businesses in the Dallas-Fort Worth Metroplex. Call us to get more information about upgrading your protection.


